Installation Instructions
1. Install Anaconda with Python 3
To install the packages and libraries we need for this course we will be using the Anaconda package manager, so you’ll need to install this first. First, navigate to the individual edition page and scroll down until you see the download links and select either a 32 or 64 bit installation, depending on your machine (if you’re not sure if you are on a 32/64 bit machine the easiest is probably to google your computer’s name and date along with “32 or 64”).:
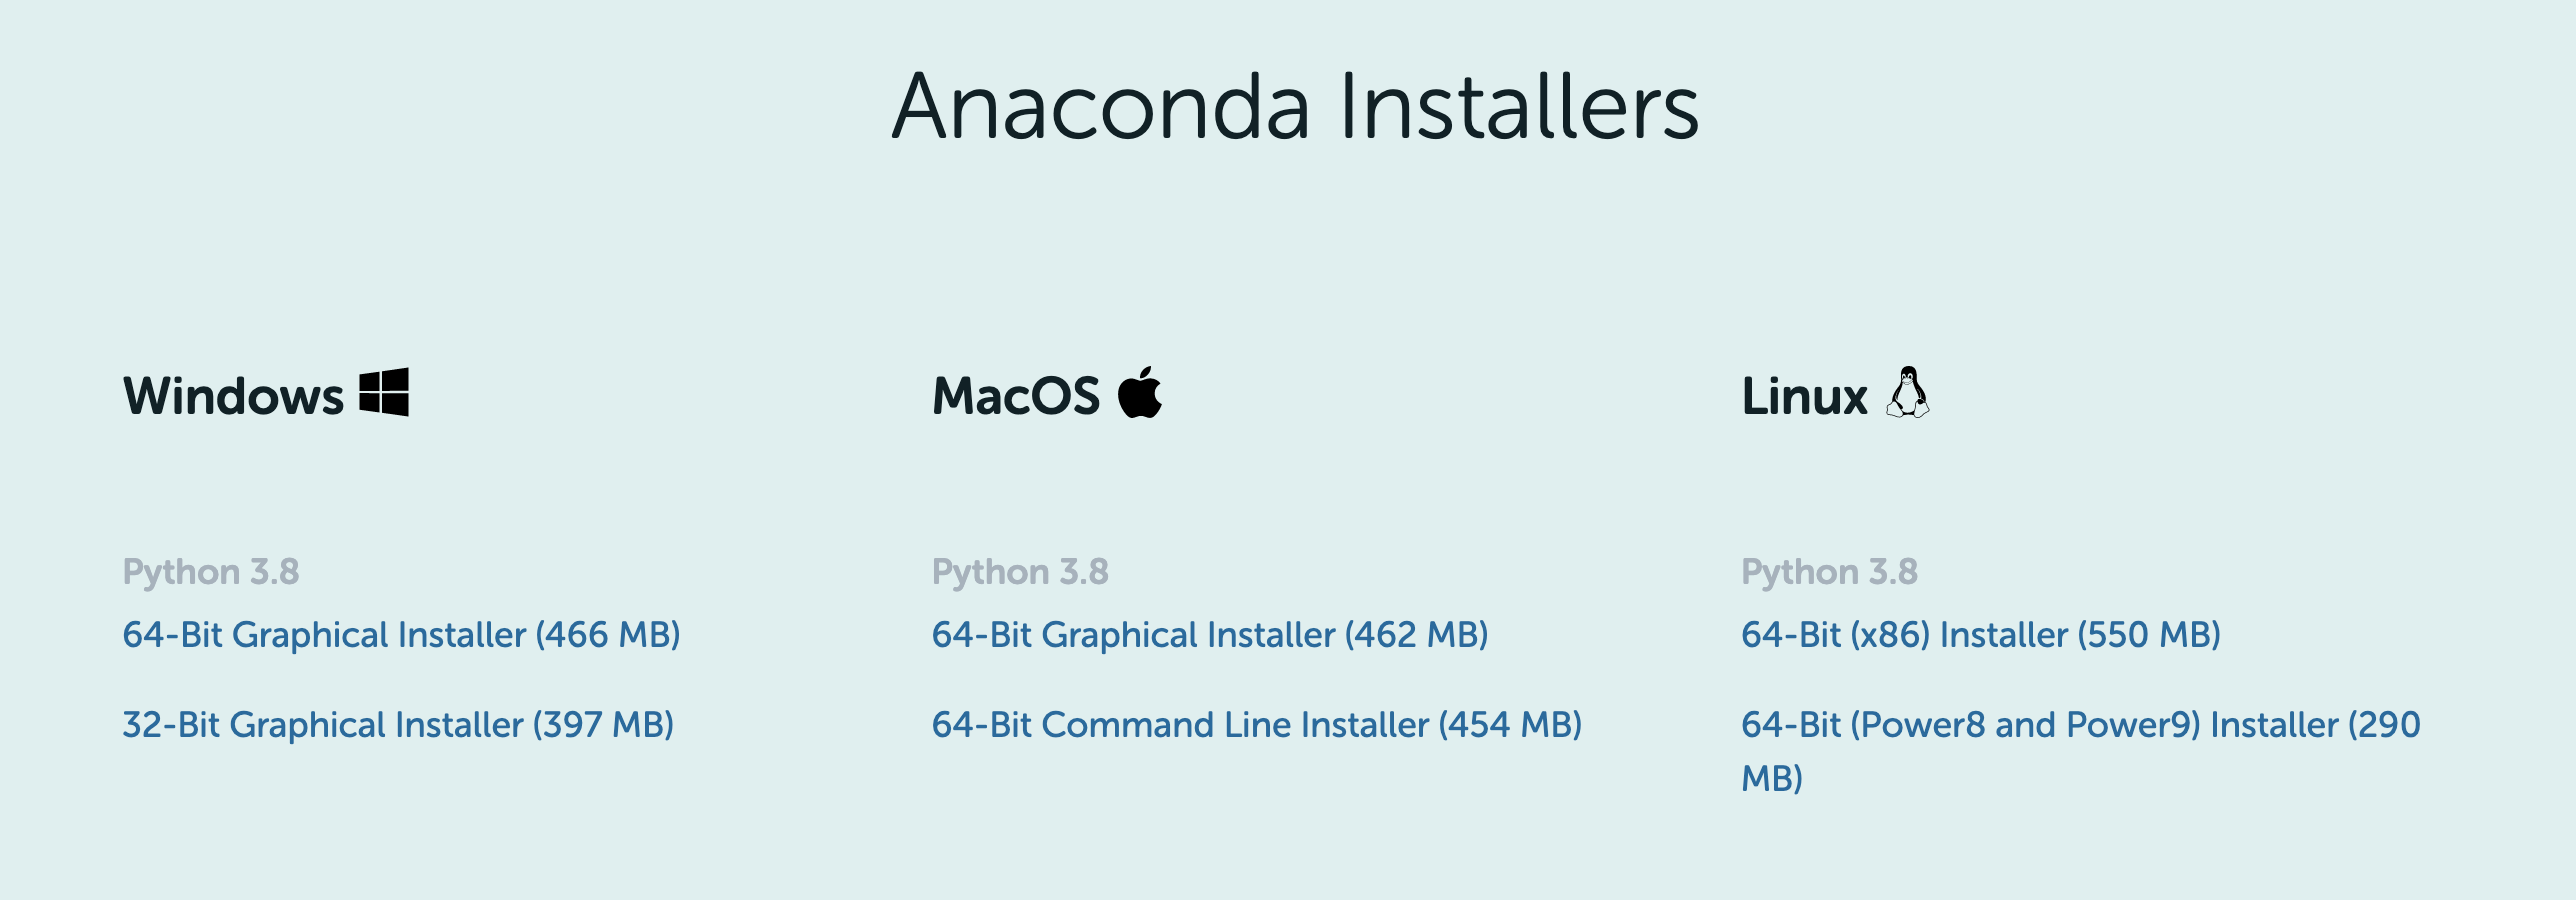
NOTE: You will need the Python 3.X version (the version might be different than listed on the conda webpage).
Next, follow these installation steps to install anaconda on your computer:
NOTE: If you already have Anaconda installed you might get an error. You can simply make sure Anaconda is the most recent version by opening a Terminal (Mac) or the Anaconda Prompt (Windows) and typing conda update anaconda.
2. Create an Anaconda Environment
Now we will make a “stand-alone” envirnoment to do our data-viz stuff in. This is useful to make sure we install packages in a way that will not cause bad interactions.
Here is a ~2 minute movie of how this process looks on my Mac (it may take longer on your machine!) which covers the instructions in section 2.1 and 2.2 of the installation process (note: this uses Python 3.8, but you should try with Python 3.7 first):
2.1 Conda environment
- On a Mac search for the “Terminal” prompt/on Windows search for the Anaconda prompt (NOT the navigator)
- In the terminal window type:
conda create -n DataViz python=3.7 matplotlib=3.2.2 numpy jupyter pillow pandas scipy ipywidgets palettable bqplot h5py requests traitlets geopandas contextily ipyvolume ffmpeg descartes basemap cartopy webcolors ipyleaflet wordcloud nltk xlrd libpng openpyxl pip yt -c conda-forge- NOTE #1: if this fails or there are package conflicts you can try with Python 3.8 – In the terminal window type:
conda create -n DataViz python=3.8 matplotlib=3.2.2 numpy jupyter pillow pandas scipy ipywidgets palettable bqplot h5py requests traitlets geopandas contextily ipyvolume ffmpeg descartes basemap cartopy webcolors ipyleaflet wordcloud nltk xlrd libpng openpyxl pip yt -c conda-forge - NOTE #2: you might see the following message
Solving environment: failed with initial frozen solve. Retrying with flexible solve.orSolving environment: failed with repodata from current_repodata.json, will retry with next repodata source.This does not mean your installation has failed – as long as its still running let it be! (This can take a while – average is ~30 minutes, but sometimes it can take over night.)
- NOTE #1: if this fails or there are package conflicts you can try with Python 3.8 – In the terminal window type:
- When prompted, enter y and press return to install stuff (this can take a while too!)
Note: Right now we need a special version of matplotlib to work with yt, but this might change in the future.
2.2 Pip install remaining packages
- Follow the prompt to “activate” this environment with:
conda activate DataViz
OPTIONAL
- Still in terminal window do:
pip install PyGEL3D- NOTE: as of writing, PyGEL3D is not supported on machines other than Mac OSX and/or Windows. This is for some extra notebooks (we will touch on briefly, but you don’t have to use for assignments).
3. Run & Test your environment
NOTE: Here I am assuming your default browser is either Chrome or Firefox. If not, change it to one of these browsers for the duration of this class.
3.1 Run a jupyter notebook from the environment
YOU WILL NEED TO DO THIS EVERY TIME YOU OPEN UP JUPYTER NOTEBOOK
- after all installs are done type
conda activate DataVizin the terminal window/anaconda prompt - then type
jupyter notebookto open the notebook from the command line
3.1. Test the installs (this is part of the first HW, do once)
- Download the test install script - test_imports_week01, open it with your jupyter notbeook and run it cell-by-cell
A movie of this process is shown below (~5 minutes):
A few things of note:
- When the little
*is showing in theIn[]part to the left of each cell this means your computer is thinking. Its best to wait until its done with one cell before moving onto the next one. - There is a tip for the
PyGEL3Dinstall near the end in case you get an error, but you might not. If you do get this error, the process is:- Open the terminal (Mac) or Anaconda Prompt (Windows)
- Activate your data viz environment with:
conda activate DataViz - Find where PyGEL3D is installed with:
pip show PyGEL3D - Copy the address and uncomment the lines as show to paste it into your jupyter notebook
- If nothing shows up for the
bqplotplot or theipyvolumeplot there are a few tips listed – try refreshing your browser, try installing the extensions (uncomment those lines and run the cell and try running the plotting cells again), or completely close and completely re-open your jupyter notebook as discussed in section 3.1