OPTIONAL - Installation Instructions
These installation instructions are obsolete!
Please note as of Fall 2023, all assessments will be completed on the PrairieLearn system. These instructions remain in case you want to install packages locally but please note we will NOT be supporting this installation process and you will be “on your own” to get this to work on your machine (for example, if you have a space in your username on your computer, conda is going to give you issues that you need to sort out on your own).
Additionally, if you are familiar with docker, you can access the docker image for the workspaces at jnaiman/workspace-is445.
Please read these instructions carefully!
Many common errors/bugs are listed here along with strategies for how to fix them.
1. Install Anaconda with Python 3
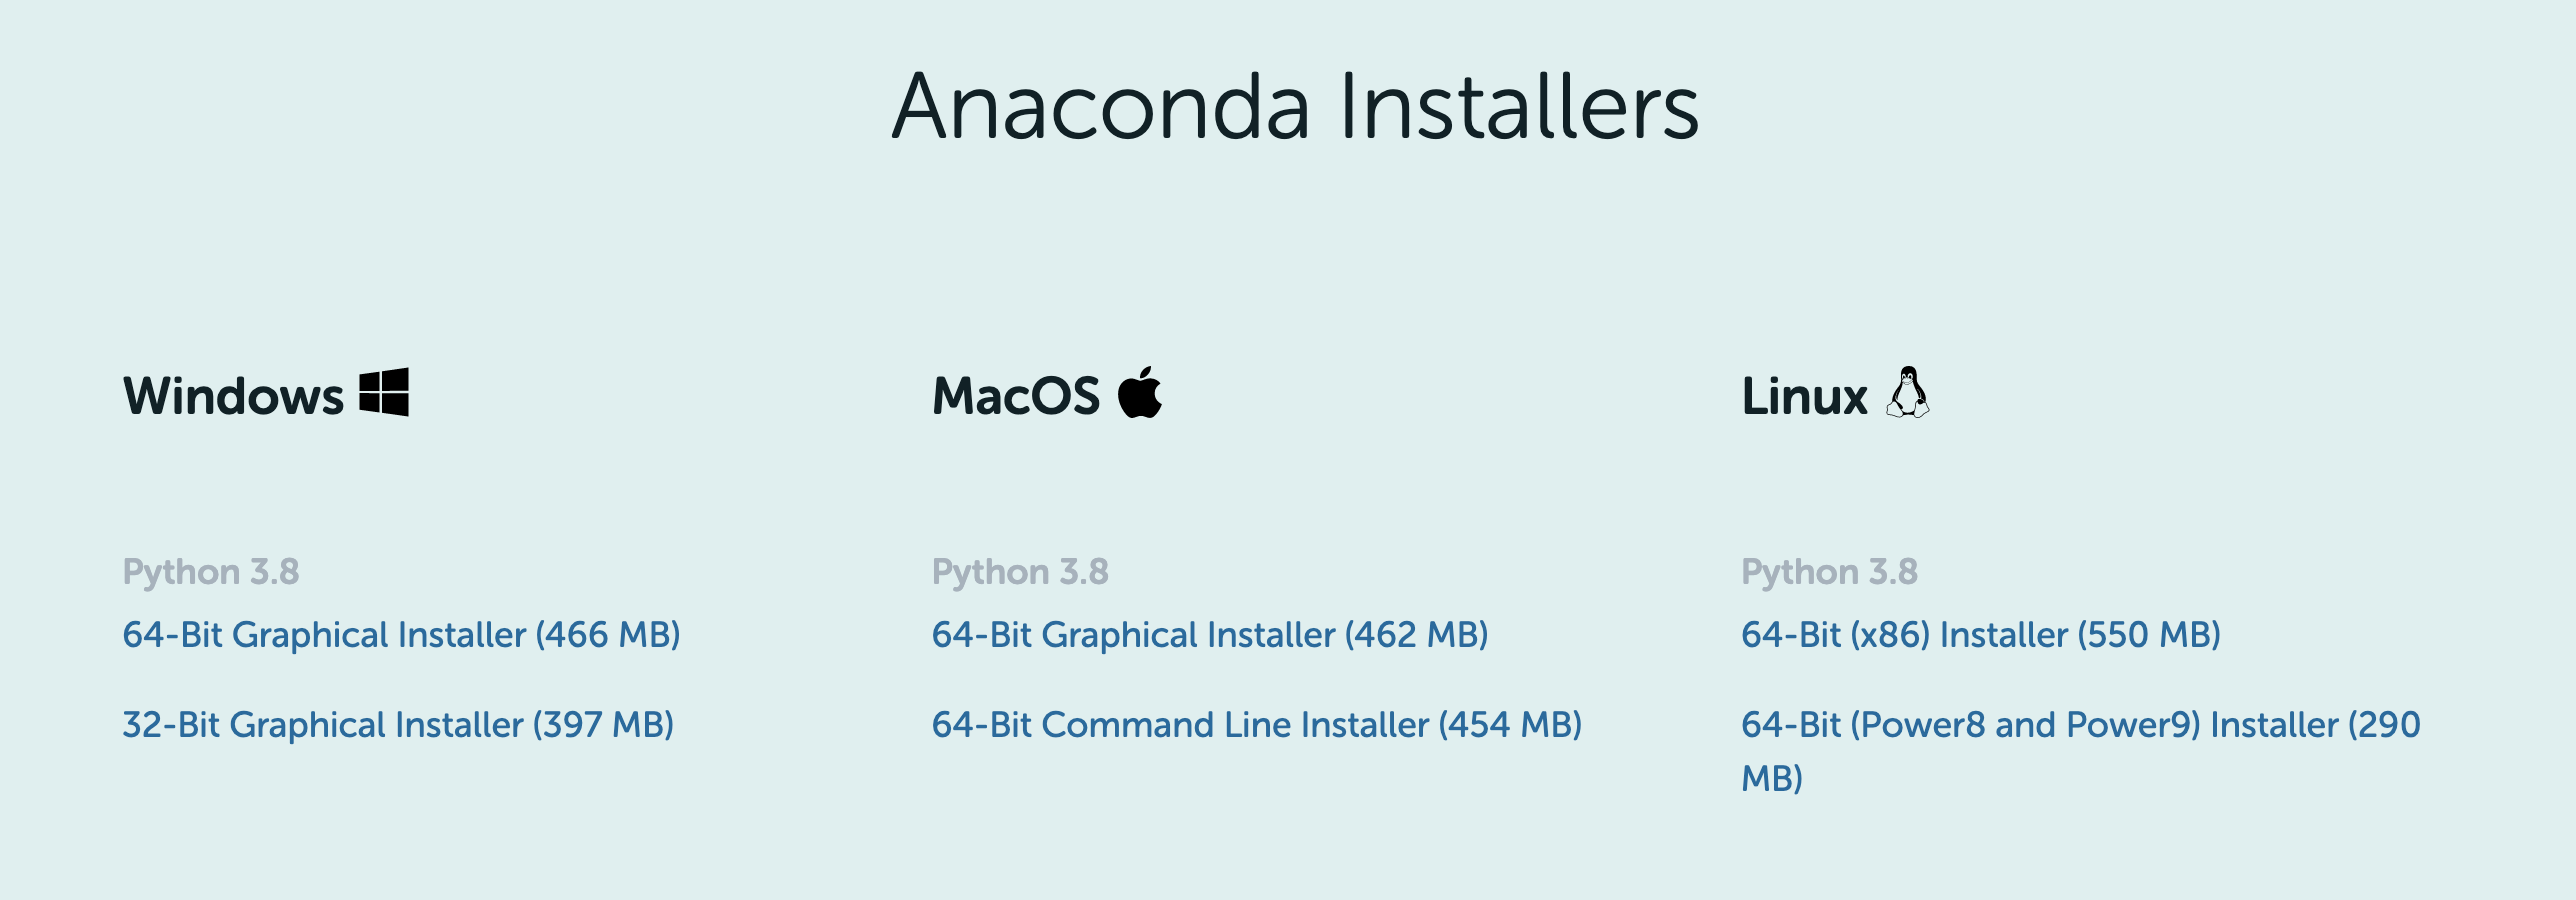
To install the packages and libraries we need for this course we will be using the Anaconda package manager, so you’ll need to install this first. First, navigate to the individual edition page and scroll down until you see the download links and select either a 32 or 64 bit installation, depending on your machine (if you’re not sure if you are on a 32/64 bit machine the easiest is probably to google your computer’s name and date along with “32 or 64”).:

NOTE: You will need the Python 3.X version (the version might be different than listed on the conda webpage).
Next, follow these installation steps to install anaconda on your computer:
NOTE: If you already have Anaconda installed you might get an error. You can simply make sure Anaconda is the most recent version by opening a Terminal (Mac) or the Anaconda Prompt (Windows) and typing conda update anaconda.
2. Create an Anaconda Environment
Now we will make a “stand-alone” envirnoment to do our data-viz stuff in. This is useful to make sure we install packages in a way that will not cause bad interactions.
2.1 Conda environment
- On a Mac search for the “Terminal” prompt/on Windows search for the “Anaconda Prompt” (NOT the navigator)
- In the terminal window type:
conda create -n DataViz python=3.10 seaborn plotly pygraphviz pandas matplotlib bqplot=0.12.30 numpy regex networkx openssl altair yt geopandas gdal rasterio shapely pyproj rtree fiona pillow palettable h5py contextily webcolors openpyxl ipyleaflet vega_datasets nltk wordcloud pip -c conda-forge ; conda activate DataViz ; pip install streamlit
DO NOT TRY TO INSTALL THESE PACKAGES ONE AT A TIME
This can lead to package conflicts!
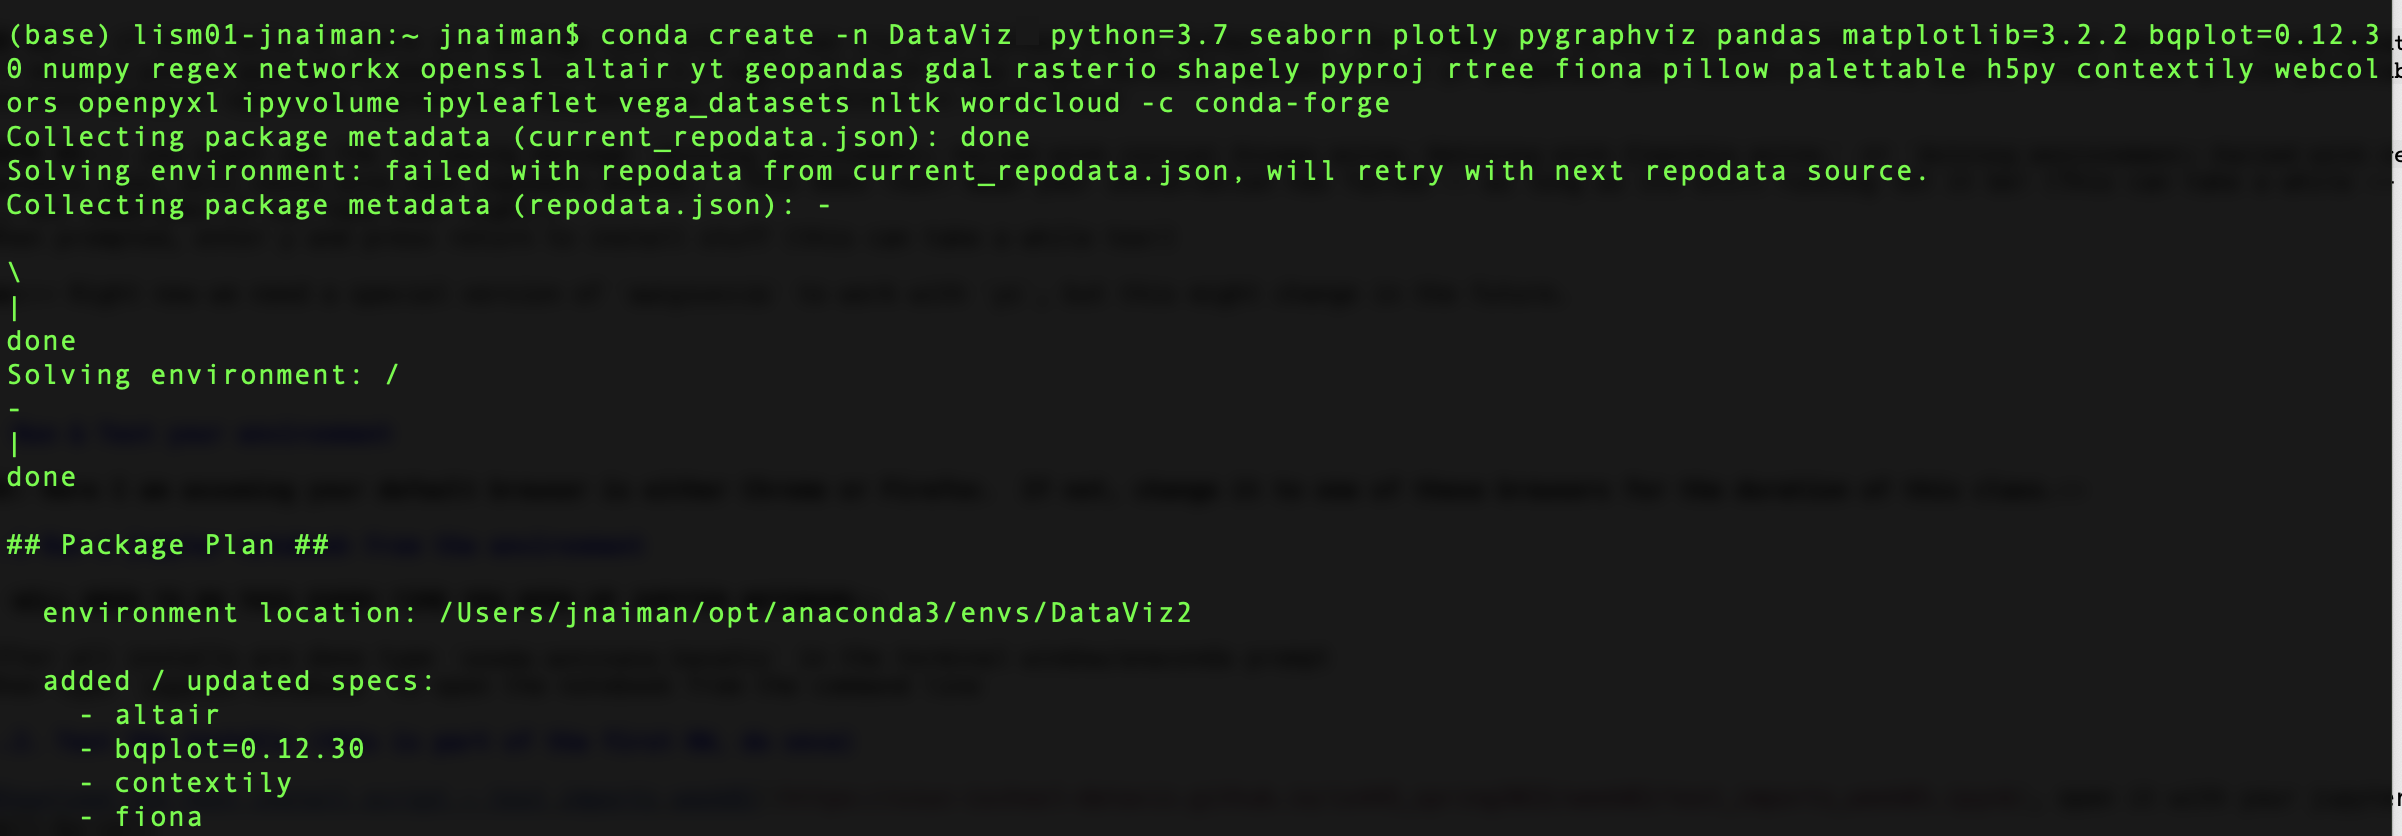
You will then see an output that looks a bit like this:

After the “Solving Environment” step completes it will ask you if you want to install hit “y” and “Enter” or just “Enter” to complete the process.
DO NOT WORRY about the following warning messages you might see:
Solving environment: failed with initial frozen solve. Retrying with flexible solve.Solving environment: failed with repodata from current_repodata.json, will retry with next repodata source.
This does not mean your installation has failed – as long as its still running let it be!
Note the installation process can take a while – average is ~30 minutes, but sometimes it can take OVER NIGHT.
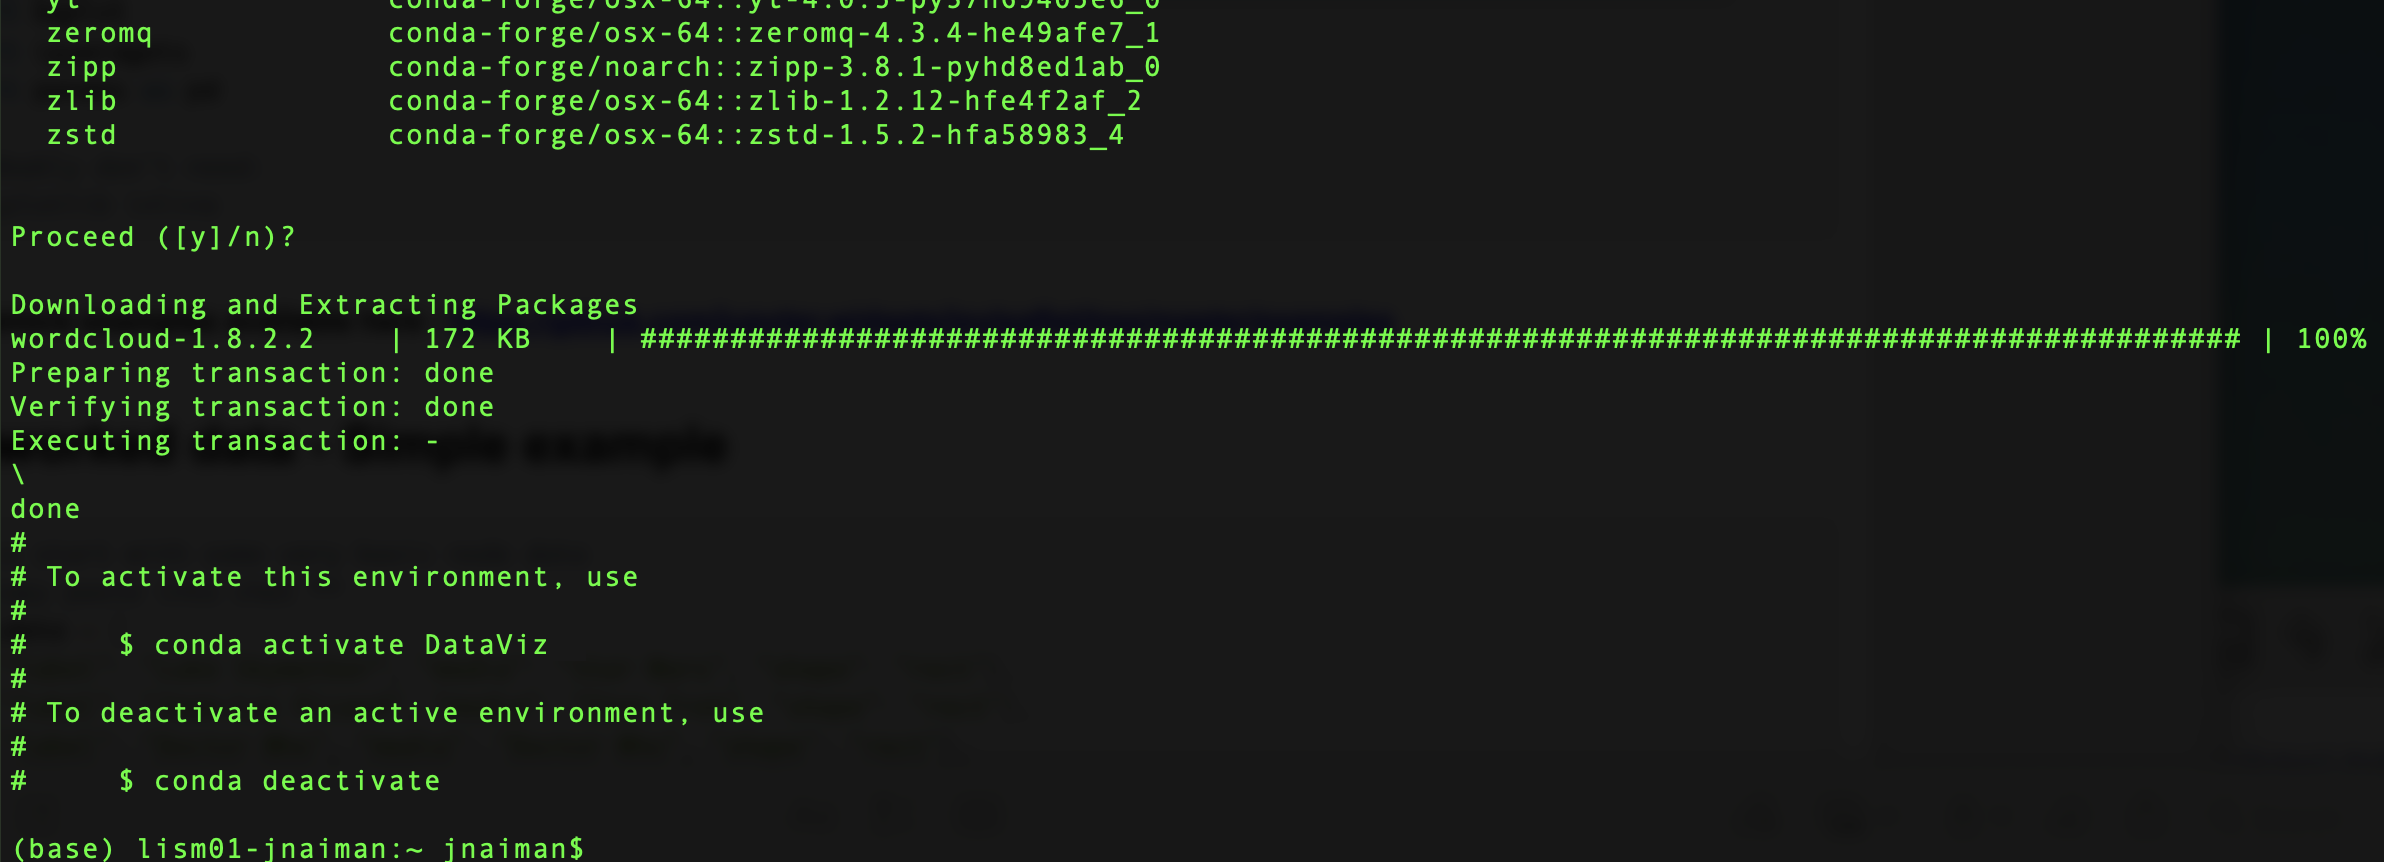
A successful installation is indicated by seeing the following:

Tips and Tricks
HERE NEEDS TO BE FIXED
If the install fails or there are package conflicts you can try with Python 3.8 or Python 3.9. For example to re-install with Python 3.8 the command becomes: conda create -n DataViz python=3.8 seaborn plotly pygraphviz pandas matplotlib=3.2.2 bqplot=0.12.30 numpy regex networkx openssl altair yt geopandas gdal rasterio shapely pyproj rtree fiona pillow palettable h5py contextily webcolors openpyxl ipyleaflet vega_datasets nltk wordcloud -c conda-forge ; conda activate DataViz ; pip install streamlit
3. Run & Test your environment
NOTE: Here I am assuming your default browser is either Chrome or Firefox. If not, change it to one of these browsers for the duration of this class.
3.1 Run a jupyter notebook from the environment
YOU WILL NEED TO DO THIS EVERY TIME YOU OPEN UP JUPYTER NOTEBOOK
- after all installs are done type
conda activate DataVizin the terminal window/anaconda prompt - then type
jupyter notebookto open the notebook from the command line
3.2. Test the installs (this is part of the first HW, do once)
- Download the test install script - test_imports_week01, open it with your jupyter notbeook and run it cell-by-cell
A movie of this process is shown below from a slightly older installation process (but the overall steps will remain the same, even if some of the packages are different):
A few things of note:
- When the little
*is showing in theIn[]part to the left of each cell this means your computer is thinking. Its best to wait until its done with one cell before moving onto the next one. - If nothing shows up for the
bqplotplotor theplot there are a few tips listed – try refreshing your browser, try installing the extensions (uncomment those lines and run the cell and try running the plotting cells again), or completely close and completely re-open your jupyter notebook as discussed in section 3.1ipyvolume